Using 11ty JavaScript Data files to mix Markdown and CMS content into one collection
Eleventy is an incredibly powerful tool in the Jamstack's static site arsenal. It's a static site generator with some data superpowers.
I've been using its JavaScript data files for years now. I've also been using Markdown files to power this blog. Not too long ago, I discovered the fact that when running data through Eleventy's pagination functionality, you have the option to add those pages to a Collection. If you're able to add data to a Collection, that means that you can mix and match data sources in exciting new ways.
Welcome to an article about mixing a data API with Markdown files to create a blog that can be written in either system. In fact, this article is the first article written on my blog using Sanity.io instead of Markdown files, but every post before this is authored in Markdown!
I've contemplated converting my blog posts over to use Sanity since I joined the company in 2020, but the idea of converting all my Markdown files seemed tedious (either manually moving or writing a script to normalize them). With this discovery, an extra 2 files, and an addition to a personal Studio, I can write new posts with Sanity's Studio and keep my old posts in Markdown.
Prerequisite knowledge
- Basic 11ty knowledge
- "Hello World" level knowledge of Sanity.io
- If you know a little about 11ty's JavaScript data files, that would help too
Getting started
We need two things to get started: a simplified 11ty blog and a blank Sanity Studio.
- 11ty Blog:
- Clone this starting repository for the 11ty code
- Run
npm installin the project - Run
npm startto get 11ty running
- Sanity Studio
- Install the Sanity CLI:
npm install -g @sanity/cli - Run
sanity initand create a new Sanity project with a blank schema - Need a bit more description about the CLI? Here is the "Getting Started with the CLI" documentation.
- Install the Sanity CLI:

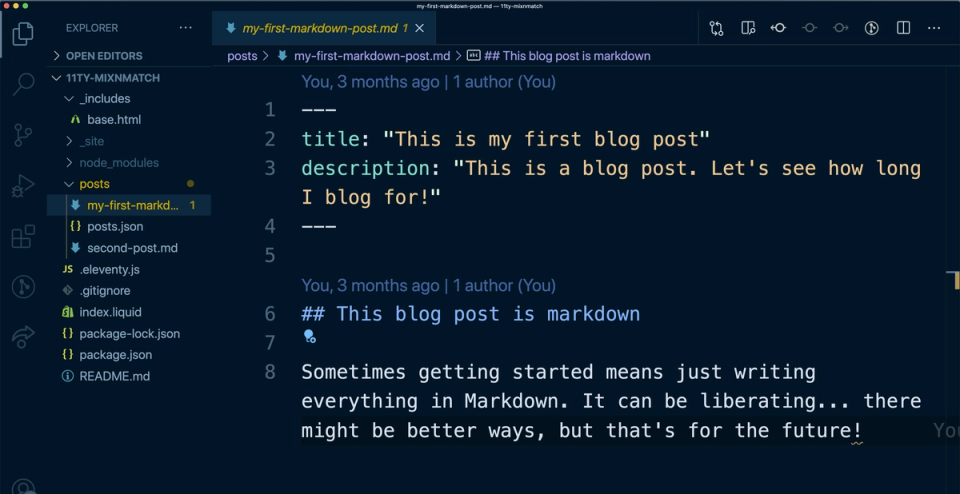
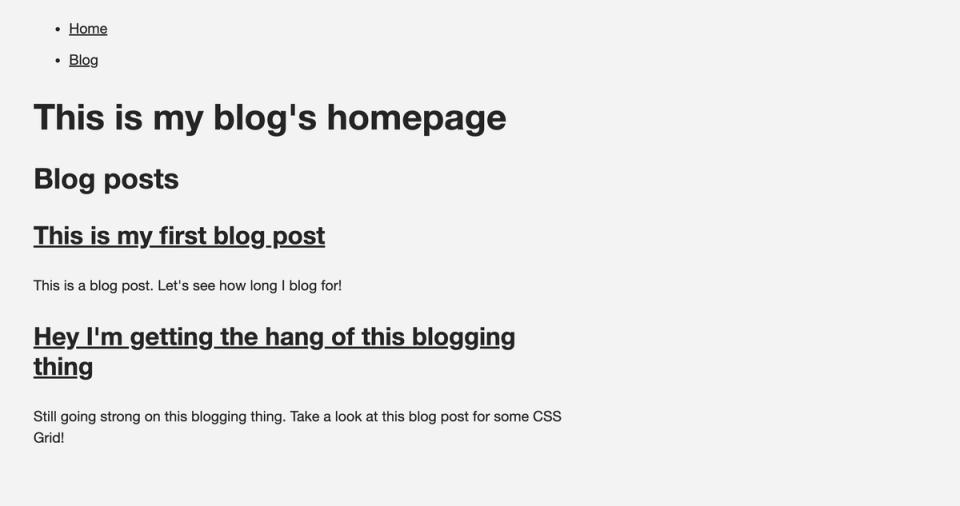
The 11ty blog is a simplified blog structure. There's one Liquid template, a couple of Markdown blog posts in the /posts directory, and one collection created in the .eleventy.js configuration file.
Each blog post has a little structured data in its frontmatter: a title, description, and (optional) date. This is enough to give our templates the data necessary to keep things in order and structured nicely.

This is all you need to start blogging in 11ty. Nothing fancy. Just some Markdown, templates, and ideas.
Let's add our external data to the mix.
If you've run the commands in the "Sanity Studio" section above, you should have a blank Studio project ready to run locally. Let's create our content model.
Content modeling with Sanity
Since this is a simple blog, we don't need too much in the way of structured content. We just need to match our frontmatter and add a little extra structure to our rich text.
To create our content model, we'll add a new file to our /schemas directory in the Sanity project created by the CLI. We'll name it post.js
The file needs to export an object containing specific data: a name, title, type, and an array of fields for our data entry.
export default {
    name: 'post',
    title: 'Blog Post',
    type: 'document',
    fields: [
      // Where our data structure will go
    ]
}
Once this boilerplate is in place, we can add the specific fields we'll need. For our data, we need a title string, a description textarea, a slug for the URL, a publish date, and a body of text for the post. In the future, you can add things like an array of categories, featured images, or code blocks for your rich text.
export default {
    name: 'blog',
    title: 'Blog Post',
    type: 'document',
    fields: [
        {
            name: 'title',
            title: 'Post Title',
            type: 'string'
        },
        {
            title: 'Slug',
            name: 'slug',
            type: 'slug',
            options: {
                source: 'title',
                maxLength: 200, // // will be ignored if slugify is set
                slugify: input => input
                            .toLowerCase()
                            .replace(/\s+/g, '-')
                            .slice(0, 200),
                isUnique: proposedSlug => true,
            },
        },
        {
            title: 'Publish Date',
            name: 'publishDate',
            type: 'date',
            options: {
                dateFormat: 'YYYY-MM-DD',
                calendarTodayLabel: 'today',
            },
        },
        {
          name: 'description',
          title: 'Description',
          type: 'text'
        },
        {
          title: 'Post Body',
          name: 'text',
          type: 'array',
          of: [
            {
              type: 'block',
              marks: {
                decorators: [
                    {title: 'Strong', value: 'strong'},
                    {title: 'Emphasis', value: 'em'},
                    {title: 'Code', value: 'code'}
                ],
              }
            }
          ]
        },


    ]
}
Portable Text
You may notice there are no "rich text" or "WYSIWYG" fields explicitly. That's because Sanity structures its rich text content as "blocks" that translate to JSON so that they can be reused in multiple contexts. The last field listed in our schema defines these blocks. This methodology is outlined by Sanity's Portable Text specification. It creates amazing flexibility at the cost of a bit of complexity.
In our schema, we're using a slightly modified set of blocks. Instead of importing the default set of decorators, we're limiting them to just the "Strong," "Emphasis," and "Code" decorators. Other customizations can be made, including adding new specialized blocks and custom decorators or annotations. Since this will all be exported as JSON it can be used in multiple ways in our frontend.
Once the schema has been saved, our studio will reload, and we'll be able to add some content. In this case, go in and add a blog post for testing purposes. From there, we can move back to 11ty and pull the data.
Adding Sanity data to 11ty
Now we have a nice place to author our content, but we might have a lot of blog posts in Markdown and not enough hours in the day to migrate our content. We can leave that content in Markdown, but use our new editor experience to author new posts.
How can we do that?
- Add the 11ty data with a JavaScript data file.
- Add the resulting posts to our
postscollection. - Fix a date issue with 11ty imported data
- Profit? (at least succeed at the purpose of this post)
1. Add 11ty data with a JavaScript data file
To ingest the data into 11ty, we'll create a JavaScript data file. I love 11ty's JS data files. I've written about them plenty, presented about them a bit, and just really enjoy them.
First, we need to add a new directory to our root structure. Create a _data directory – this is the default folder for data files for 11ty, but you can override this with a line of code in your .eleventy.js file. In that folder, create a new file called posts.js. The file name (without extension) will be the variable we use to access the data.
const blocksToMd = require('@sanity/block-content-to-markdown')
const sanityClient = require('../utils/sanityClient')
const query = `*[_type == "blog"] | order(_createdAt desc)`

module.exports = async function() {
    // Fetches data
    const data = await sanityClient.fetch(query)

    // Modifies the data to fit our needs
    const preppedData = data.map(prepPost)

    // returns this to the 11ty data cascade
    return preppedData
}


// This is mostly Sanity specific, but is a good function idea for preparing data
function prepPost(data) {
    // Converts Portable Text to markdown
    data.body = blocksToMd(data.body,{serializers})
    // Adjusts where our date lives (for convenience)
    data.date = data.publishDate
    // Returns back to our main function
    return data
}

// This is a way of converting our custom blocks from Portable Text to Markdown
const serializers = {
    // Creates the code blocks how markdown and 11ty want them
    types: {
        code: props => '```' + props.node.language + '\n' + props.node.code + '\n```'
    }
}
This details of this file are fairly specific to Sanity, but the general idea works for any data source. In this case, we export an async function that will fetch our data, modify or normalize it in some way and then return it back to the 11ty Data Cascade.
Want to learn more about how to add Sanity data to 11ty? I wrote an official Sanity guide on getting started with 11ty + Sanity.
2. Add the post data to our posts collection
The last section made the data available. Now we need to create a template and add the resulting files to our posts collection.
To do that, in our root directory, we'll add a new Markdown file named sanityPosts.md (this could be named anything, since we'll mainly access the files created inside the Collection).
To create individual pages for each item in our Sanity data, we'll use 11ty's "Pagination" concept. Pagination can be used to do traditional pagination of elements (break a list of posts into 5 pages of posts), but it's also capable of making a page per data item.
We'll start by adding some frontmatter to our file to pull the data and set up the pagination.
---js
{
    pagination: {
        data: "posts", // uses return of /_data/posts.js as data
        size: 1, // Creates a page for each post
        alias: "post", // Makes accessing data easier
        addAllPagesToCollections: true // Adds pages to Collections based on tags
    }
}
---
This accepts data from the posts variable, sets a number of posts per page with size, and allows for more ergonomic data access with the alias property. Then comes the main power of this post: addAllPagesToCollections. Setting this to true will add these pages to the Collections data.
Right now the new posts don't exist in any currently named Collections. Let's add a tag to each post, and while we're at it, let 11ty know what template to use for these new files.
---js
{
    pagination: {/*...*/},
    tags: ['post'], // The tag for collections,
    layout: "base.html", // Which layout?
}
---
Currently, all of the data exists on a data.post object. Keeping the data there would make a completely new template necessary, and that doesn't sound like fun. We can use 11ty's eleventyComputed object to add dynamic data to the root of each item in the data. In this case, it will normalize our title and description to what our base.html template expects and create a dynamic slug for each based on the slug provided by Sanity.
---js
{
    pagination: {
        data: "posts", // uses return of /_data/posts.js as data
        size: 1, // Creates a page for each post
        alias: "post", // Makes accessing data easier
        addAllPagesToCollections: true // Adds pages to Collections based on tags
    },
    tags: ['post'], // The tag for collections,
    layout: "base.html", // Which layout?
    eleventyComputed: {
        title: data => data.post.title, // Post title from data
        description: data => data.post.description, // Post description from data
        permalink: data => `/blog/${data.post.slug.current}/index.html`, // Slug and permalink creation
    }
}
---
In our .eleventy.js file, we're currently generating a custom Collection based on the tag post. By adding these items to that Collection, they now will appear directly in the flow of posts. The HTML generated is missing it's body content, though. Let's fix that.
---js
{ /* ... */}
---

{{ post.body }}
We now have all our posts looking identical and pulling into the same list. There's one problem: 11ty will generate a content date based on when the file was created unless otherwise overridden by the content.
Fix the date issue with 11ty imported data
Unfortunately, we can't just add a new computed value to our template file, since this date is being generated at a later time and we don't have access to the date value when creating the data in the JS data file.
To fix this, we can rely on the fact that 11ty's config file is just JavaScript and we can manipulate how it works in many interesting and fun ways.
Really big shoutout to Nic Johnson and Peter F. Tumulty in the Jamstack Slack's 11ty channel for brainstorming this solution with me. Without them, this article wouldn't exist – and after hours of coming up with nothing, the elegance of the solution we came up with struck me as appropriate to 11ty...
In our .eleventy.js file, we need to modify the way we're creating our Collection to update the date if the Sanity data has a date.
module.exports = function(config) {

    config.addCollection('posts', collection => {
        // This is typical Collection by Tag call
        const posts = collection.getFilteredByTag('post');

        // Map over all the posts
        const postsWithUpdatedDates = posts.map(item => {
            // If the item has a data.post object (from external Data)
            // Then set a new date based on the date property
            // Else return the original date (takes care of the Markdown)
            item.date = item.data.post ? new Date(item.data.post.date) : item.date
            return item
        })
        // Now we need to re-sort based on the date (since our posts keep their index in the array otherwise)
        const sortedPosts = postsWithUpdatedDates.sort((a, b) => b.date - a.date)
        // Make sortedPosts the array for the collection
        return sortedPosts;
    });
}
In the file, we're already creating a posts Collection. Inside that same config.addCollections() function, we can normalize the data to have each post's top-level date property be the right date – either the date from external data or the date from the original item.
Since the array's order didn't change based on the new date, we also need to re-sort the array to have it sort by the updated dates.

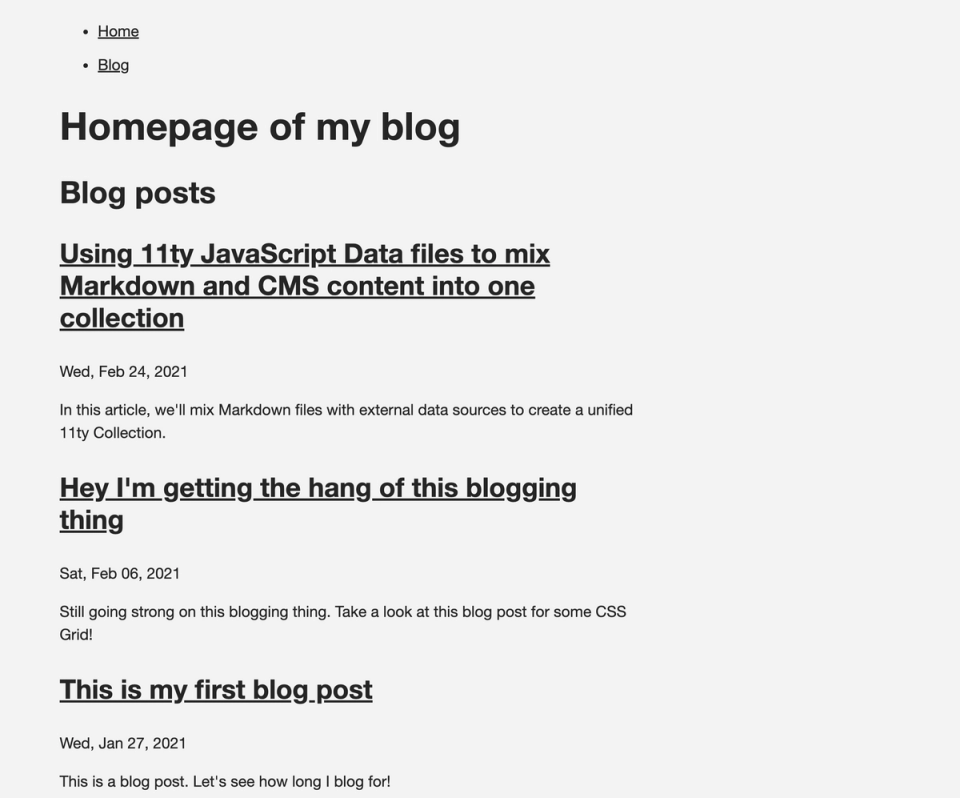
Now we have an array that has Markdown posts and external data posts, with correct dates, sorted properly by dates.
What's next?
From here, you can mix and match any data type that makes sense. By the time you read this post, my newsletter will also be living alongside my Sanity posts and my Markdown posts. Three data streams merging into one Collection and displaying with one template. Any data that makes sense to group this way can be converged.
It's really a nifty idea both from a "partial adoption" perspective, as well as a multiple-data-source perspective.
What are your thoughts? Are there data streams that make sense to mix and match? Let me know on Twitter what data you want to merge together.