Top 3 uses for the ::before and ::after CSS pseudo elements
It’s no secret that I’m a fan of ::before and ::after pseudo-elements. I use them to great effect for creating darkened overlays in this previous post.
They have so many uses beyond that, though. This post outlines my three favorite uses outside of overlays.
But first a quick explainer for how pseudo-elements work.
Note on actually using ::after and ::before
The browser will render these elements as “generated content” if and only if they have a value for the content property. This value can be set to a blank string: content: "";.
When the browser inserts this element into the DOM, it inserts it INSIDE the element you use for the selector. Here’s the definition from the specification:
::before Represents a styleable child pseudo-element immediately before the originating element’s actual content.
::after Represents a styleable child pseudo-element immediately after the originating element’s actual content.
By default, this new element will be an inline element. After the element is inserted into the DOM, it can be modified like any other element. This gives us lots of control to have all sorts of fun.
Important Note: Not all browser/screen reader combinations can read what you place inside the content of your pseudo-element. This should only be used for stylistic elements. True content should always be added to your page’s markup.
{% include ad-space.html %}
Adding an icon next to certain types of links
If you want to give your users a little more visual information about what link is about to do, you can use ::after to add an icon without adding markup.
Add an “external link” icon to links that aren’t absolute links.
a[href^="http"]::after {
    background-image: url(https://s3-us-west-2.amazonaws.com/s.cdpn.io/161359/open-in-new.svg);
    background-size: contain;
    content:"";
    display: inline-block;
    vertical-align: middle;
    width: 1em;
    height: 1em;
}
In this code, we find any anchor tag that has an href element that begins with http. This assumes you write your internal links as relative paths.
Another good use case for this method would be for PDFs.
a[href$=".pdf"]::after {
    content: " (pdf)";
    font-size:  .8em;
    color: tomato;
}
For any href that ends in .pdf, we can append the string ” (pdf).” This ::after element is easier to control than the image, as we’ve got full CSS control and can adjust font size, color and any other property.
For more information on the black magic of these selectors, read this awesome primer on CSS-Tricks.
Adding interesting “borders” to containers
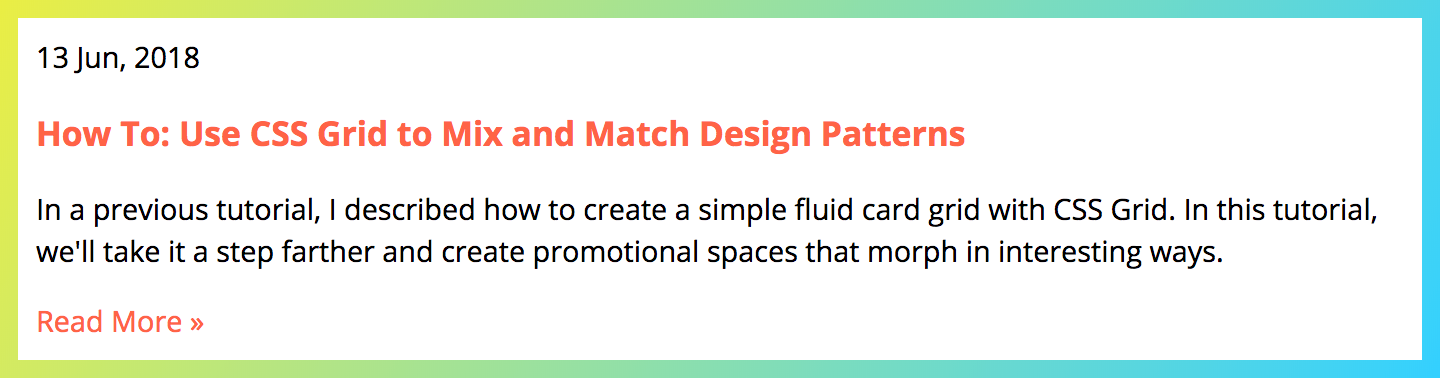
Until the Houdini Paint API hits all browsers, you may feel stuck with very boring borders for your elements. Using simple CSS and ::before and ::after, you can bring some interesting ideas to all browsers.
.related-article {
    padding: 20px;
    position: relative;
    background-image: linear-gradient(120deg,#eaee44,#33d0ff);
}

.related-article * {
    position: relative; // Set stacking context to keep content on top of the background
}

.related-article::before {
    content: "";
    background-color: #fff;
    display: block;
    position: absolute;
    top: 10px;
    left: 10px;
    width: calc(100% - 20px);
    height: calc(100% - 20px);
}
In this example, we apply a background gradient to the parent element and use a ::before element to “cut out” the interior with a simple background color. This gives the appearance of a border despite being two rectangles. To get the sizing right for your border, just requires some simple math.
By positioning the pseudo-element absolute, we have control over its placement. Sass can make this math easier with variables and math functions, if that strikes your fancy.
Instead of a full border, what if we want our headlines to have fancy small borders underneath them?
We can use an ::after element to accomplish that.
.cool-border::after {
    content: "";
    display: block;
    height: 7px;
    background-image: linear-gradient(120deg, #e5ea15, #00c4ff);
    position: absolute;
    top: calc(100% + 5px);
    left: 50%;
    width: 45%;
    transform: translateX(-50%) skew(-50deg);
}

.cool-border {
    position: relative;
}
In this example, we also position a pseudo element absolute. The size of our “border” is dictated by the height of the new element. If this were a right or left “border” you would use the elements width to determine the size.
Since this is just an element on the page, we can also have our border skewed. Rectangles were so 2005!
Adding stylistic elements that you don’t want add markup for
A <blockquote> is a great semantic element. Let’s not ruin it with extra markup.
In many ::after examples (including the others on this post), you see the pseudo elements position: absolute. There’s no rule that says this has to be the case.
Let’s use ::before and ::after as grid-items to place quotation marks on a <blockquote>.
By explicitly placing all of our content on the grid, we don’t have to worry about extra wrappers. We can also use the quotes as background images and allow them to scale with a simple minmax function in our grid-template-columns.
What am I missing?
There are a lot of great ideas for using ::after and ::before. What am I missing? Have you been using pseudo-elements in your day-to-day development?